My DaVinci Resolve Editing Setup: The Gear I Actually Use
My DaVinci Resolve Editing Setup: The Gear I Actually Use
Affiliate disclosure: This post contains affiliate links. If you purchase something through one of these links, I may earn a commission at no additional cost to you. As an Amazon Associate I earn from qualifying purchases.
You do not need the most expensive computer, monitor, or accessories to start editing videos professionally. However, as your projects become more complex, the right equipment can make your workflow faster, more comfortable, and much more reliable.
My current editing setup was not purchased all at once. It has evolved gradually as my projects, storage requirements, and performance needs have grown.
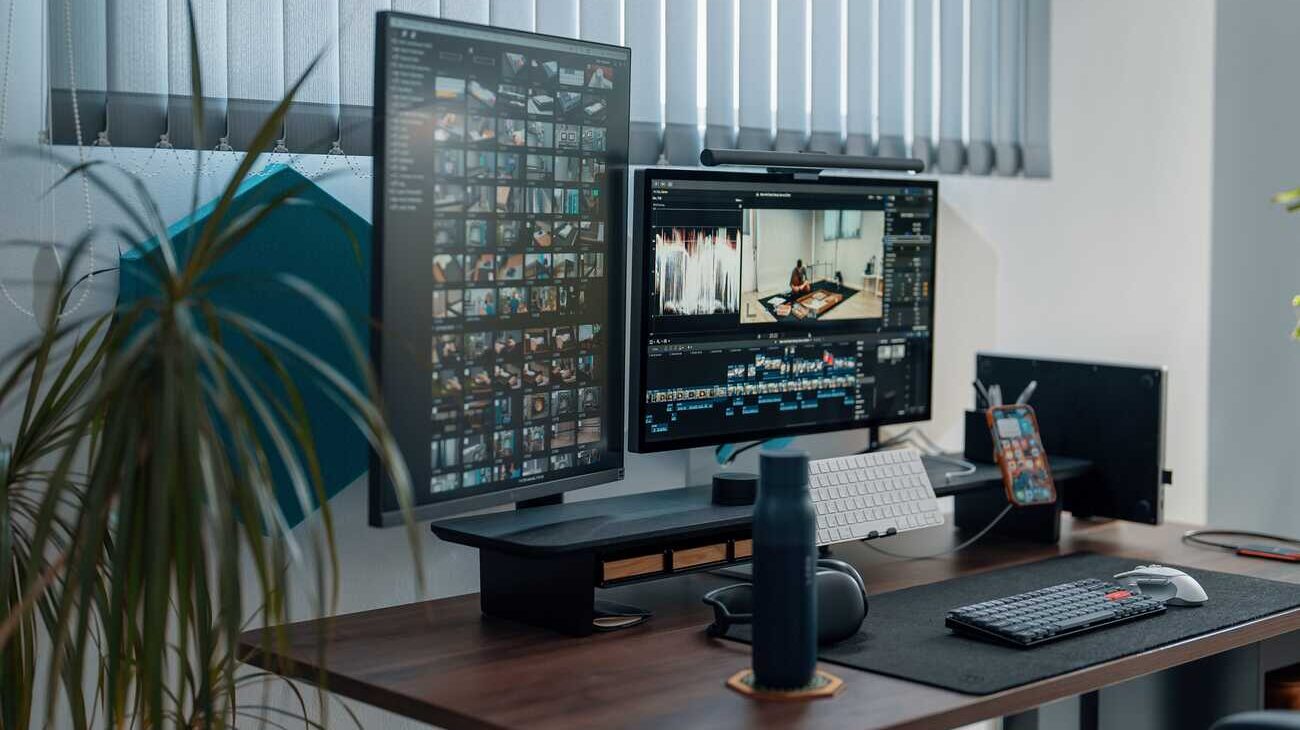
I mainly edit in DaVinci Resolve, and I also work with audio editing and music production. That means my setup needs to handle more than just cutting video clips. I need enough performance for color correction, effects, audio cleanup, file transfers, and long editing sessions.
Here is the gear I currently use and why I chose each piece.
1. 15-Inch MacBook Air M4
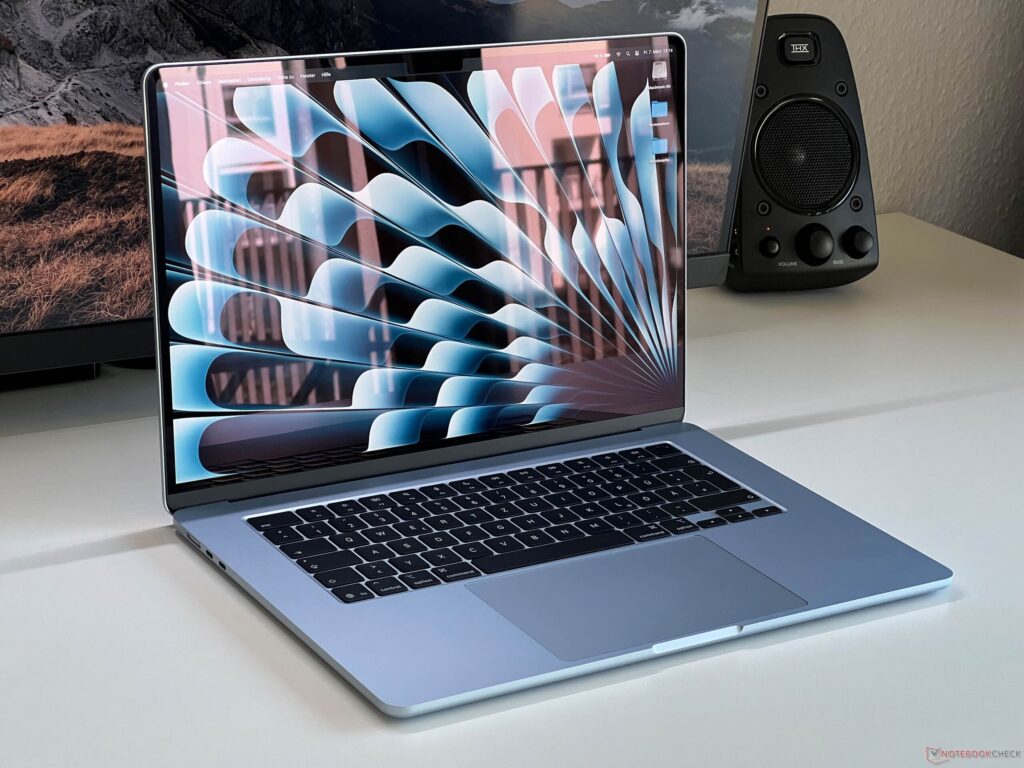
My main editing computer is a 15-inch MacBook Air with the M4 chip, 16GB of RAM, and 256GB of internal storage.
Before buying it, I worked for a long time with a MacBook Air M1. That computer served me very well and proved that a lightweight laptop can still be a capable video-editing machine.
Eventually, however, my projects became more demanding. Heavier timelines, effects, color correction, and multitasking started pushing the M1 closer to its limits.
For my current workflow, moving to at least 16GB of RAM was an important upgrade.
The 15-inch screen also gives me more space when I need to work away from my desk. DaVinci Resolve has a very detailed interface, so the additional screen size is useful when managing timelines, nodes, media, and audio controls.
The 256GB internal drive is not ideal for storing large video projects, but I use fast external storage for my media and project files. This allowed me to prioritize memory and processing performance without paying significantly more for internal storage.
My recommendation: If you plan to edit video regularly, prioritize at least 16GB of RAM. Storage can be expanded externally, but memory cannot be upgraded later.
Check the MacBook Air on Amazon
2. ASUS ProArt Display PA278CV
Even though the MacBook Air has a good built-in display, editing for several hours on a laptop screen can become uncomfortable.
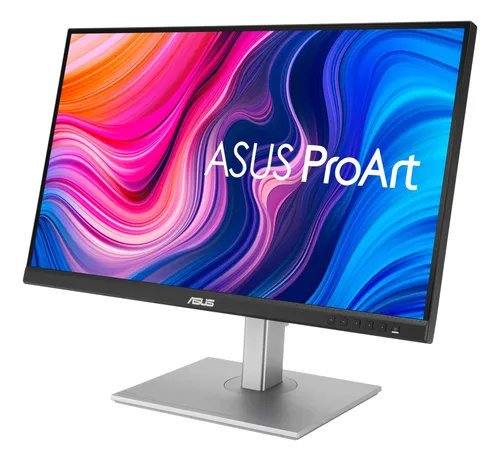
I wanted a larger monitor that was designed for creative work but did not cost as much as the most expensive professional displays. I eventually chose the 27-inch ASUS ProArt PA278CV.
It is important to clarify that this is not a Mac-specific monitor. It will not reproduce the MacBook display perfectly without proper calibration. However, it offers a very good balance between image quality, connectivity, workspace, and price.
For my editing work, the larger screen makes a major difference. I can see the timeline more clearly, work more comfortably with DaVinci Resolve’s color page, and organize the interface without everything feeling compressed.
One of my favorite features is the USB-C connection.
With one cable, I can send the image from the MacBook to the monitor while also providing power to the laptop. The monitor’s USB ports can also be used for accessories and external devices.
That means fewer adapters and cables on my desk.
For someone building a practical home-editing setup, that convenience matters almost as much as the image quality.
Check the ASUS ProArt PA278CV on Amazon
3. Anker 8-in-1 USB-C Hub
At my desk, the monitor handles many of my connectivity needs. However, I still need a portable solution for working away from home or transferring files after a recording session.
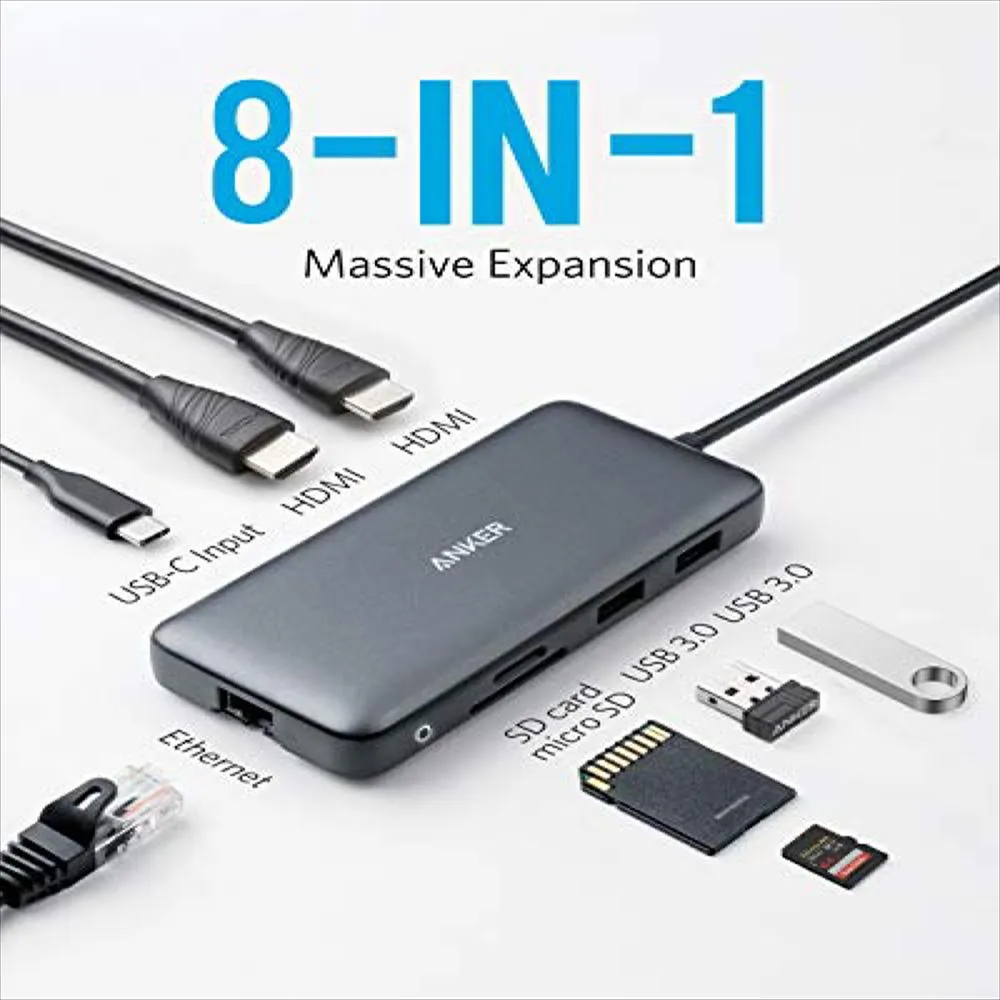
For that, I use an Anker 8-in-1 USB-C hub.
The MacBook Air has a limited number of ports, so a reliable hub is essential when working with cameras, memory cards, external drives, and other accessories.
The hub gives me access to USB-A and USB-C connections, as well as SD and microSD card readers. The card readers are especially useful because both my wife and I regularly need to transfer photos and videos after recording or shooting content.
It also includes an HDMI connection, which is useful when I need to connect the MacBook to a television, projector, or monitor that does not support USB-C video.
This is not the most exciting device in my setup, but it is one of the accessories that solves the most everyday problems.
Check the Anker USB-C hub on Amazon
4. Audio-Technica ATH-M50x Headphones
Good video editing is not only about the image.
Dialogue clarity, music levels, background noise, sound effects, and overall loudness can completely change how professional a video feels.
Because I also enjoy music production and audio editing, a reliable pair of headphones is essential for my workflow.
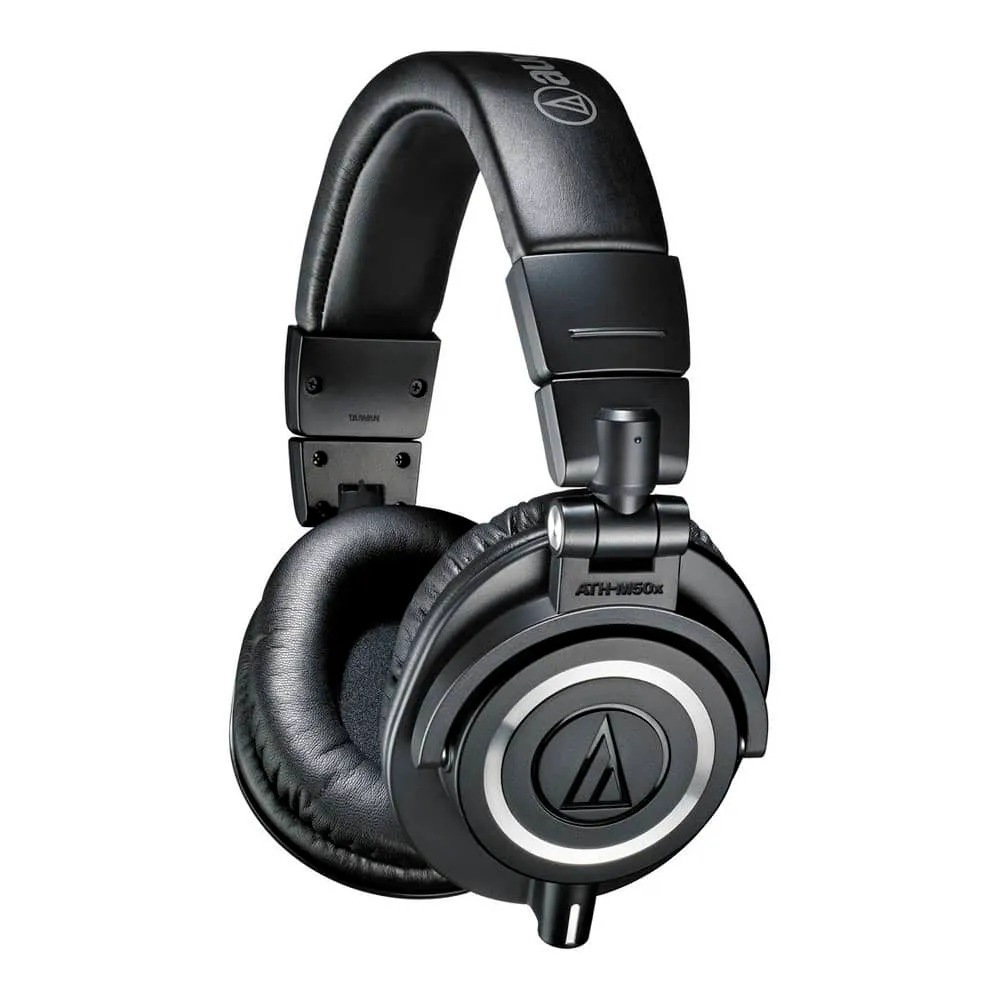
I use the Audio-Technica ATH-M50x.
These headphones help me hear more detail when I am editing dialogue, adjusting equalization, cleaning recordings, balancing music, or working on more involved audio-production projects.
They are not the cheapest headphones available, and they still require a meaningful investment. However, they have been worth it for the amount of audio work I do.
Speakers are useful, but they are also affected by the acoustics of the room. Headphones give me another consistent reference, particularly while my home studio is still being developed.
I would not recommend making final audio decisions with only one listening device. Still, the ATH-M50x are one of the tools I rely on most during the editing process.
Check the Audio-Technica ATH-M50x on Amazon
5. Fast External SSD Storage
Video files consume storage extremely quickly.
Even a relatively short project can include hundreds of gigabytes of footage, proxies, optimized media, audio files, graphics, cache files, and exports.
Since my MacBook Air has 256GB of internal storage, a fast external SSD is not optional for my workflow. It is a central part of the setup.
My current 4TB external solution took a long time to choose because external SSD specifications can be confusing. A drive may be advertised as fast, but the real performance also depends on its connection, enclosure, internal drive, cable, computer, and sustained transfer speed.
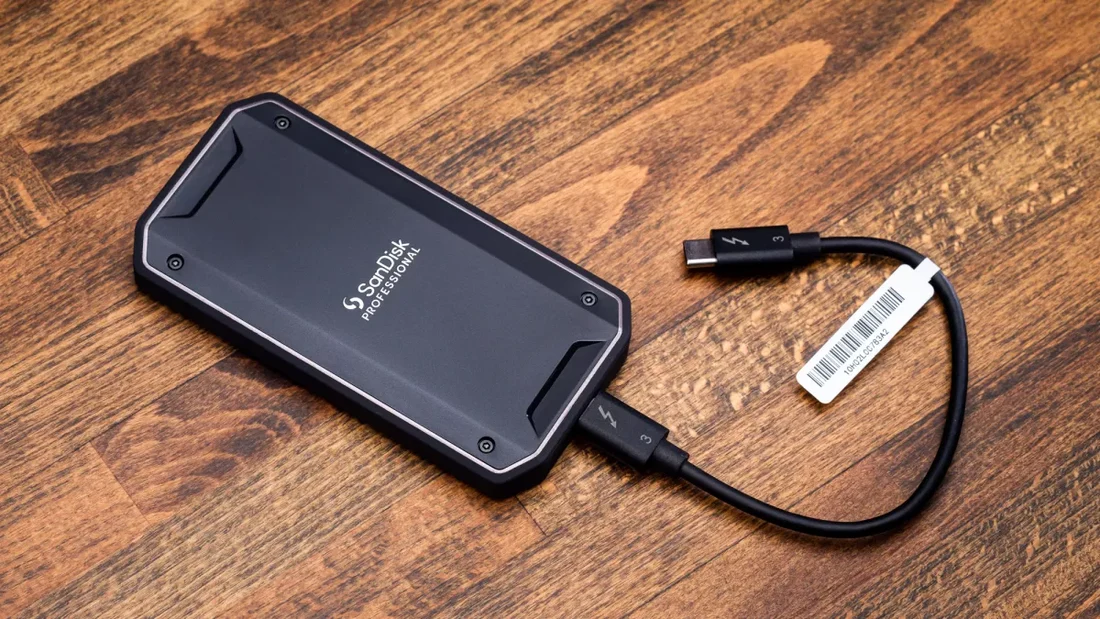
The setup I currently use is no longer easy to find, so one alternative I would consider is the SanDisk Professional PRO-G40.
A fast external drive allows me to store and edit projects without filling the MacBook’s internal storage. It also makes it easier to move projects between workstations or keep different clients and productions organized.
This is a subject that deserves its own article. Buying external storage for video editing requires looking beyond the number printed on the product page.
I plan to explain the differences between USB-C, USB 3, USB4, and Thunderbolt storage in a separate post.
Check the external SSD alternative on Amazon
What Should You Buy First?
You do not need to purchase this entire setup to start editing.
If I were building an editing setup gradually, I would prioritize the equipment in this order:
- A computer with enough memory and processing power for the type of footage you edit.
- Reliable and fast storage for your projects and media.
- Comfortable headphones for dialogue and audio work.
- A larger monitor for longer editing sessions.
- A USB-C hub based on the cameras, cards, and accessories you use.
Your priorities may change depending on whether you edit at a permanent desk or travel frequently.
For example, a portable editor may value a good USB-C hub and lightweight SSD more than a large monitor. Someone working mainly from a home studio may benefit more from investing in the display and audio setup.
My Setup Is Still Evolving
This is the equipment I currently use specifically for editing video.
I also have recording and photography equipment, but that deserves a separate post. Recording is not something I do every day, and my home studio is still a work in progress.
There are still several devices and improvements I would like to add. However, the setup I have today is more than enough to complete professional projects and continue improving my workflow.
The most important lesson I have learned is that equipment should solve a real problem.
Upgrade when your computer is slowing down your projects, when you are constantly running out of storage, when your monitor is limiting your workspace, or when you cannot properly hear the details in your audio.
A more expensive setup will not automatically make someone a better editor. But the right equipment can remove technical obstacles and allow you to focus more of your energy on the creative work.